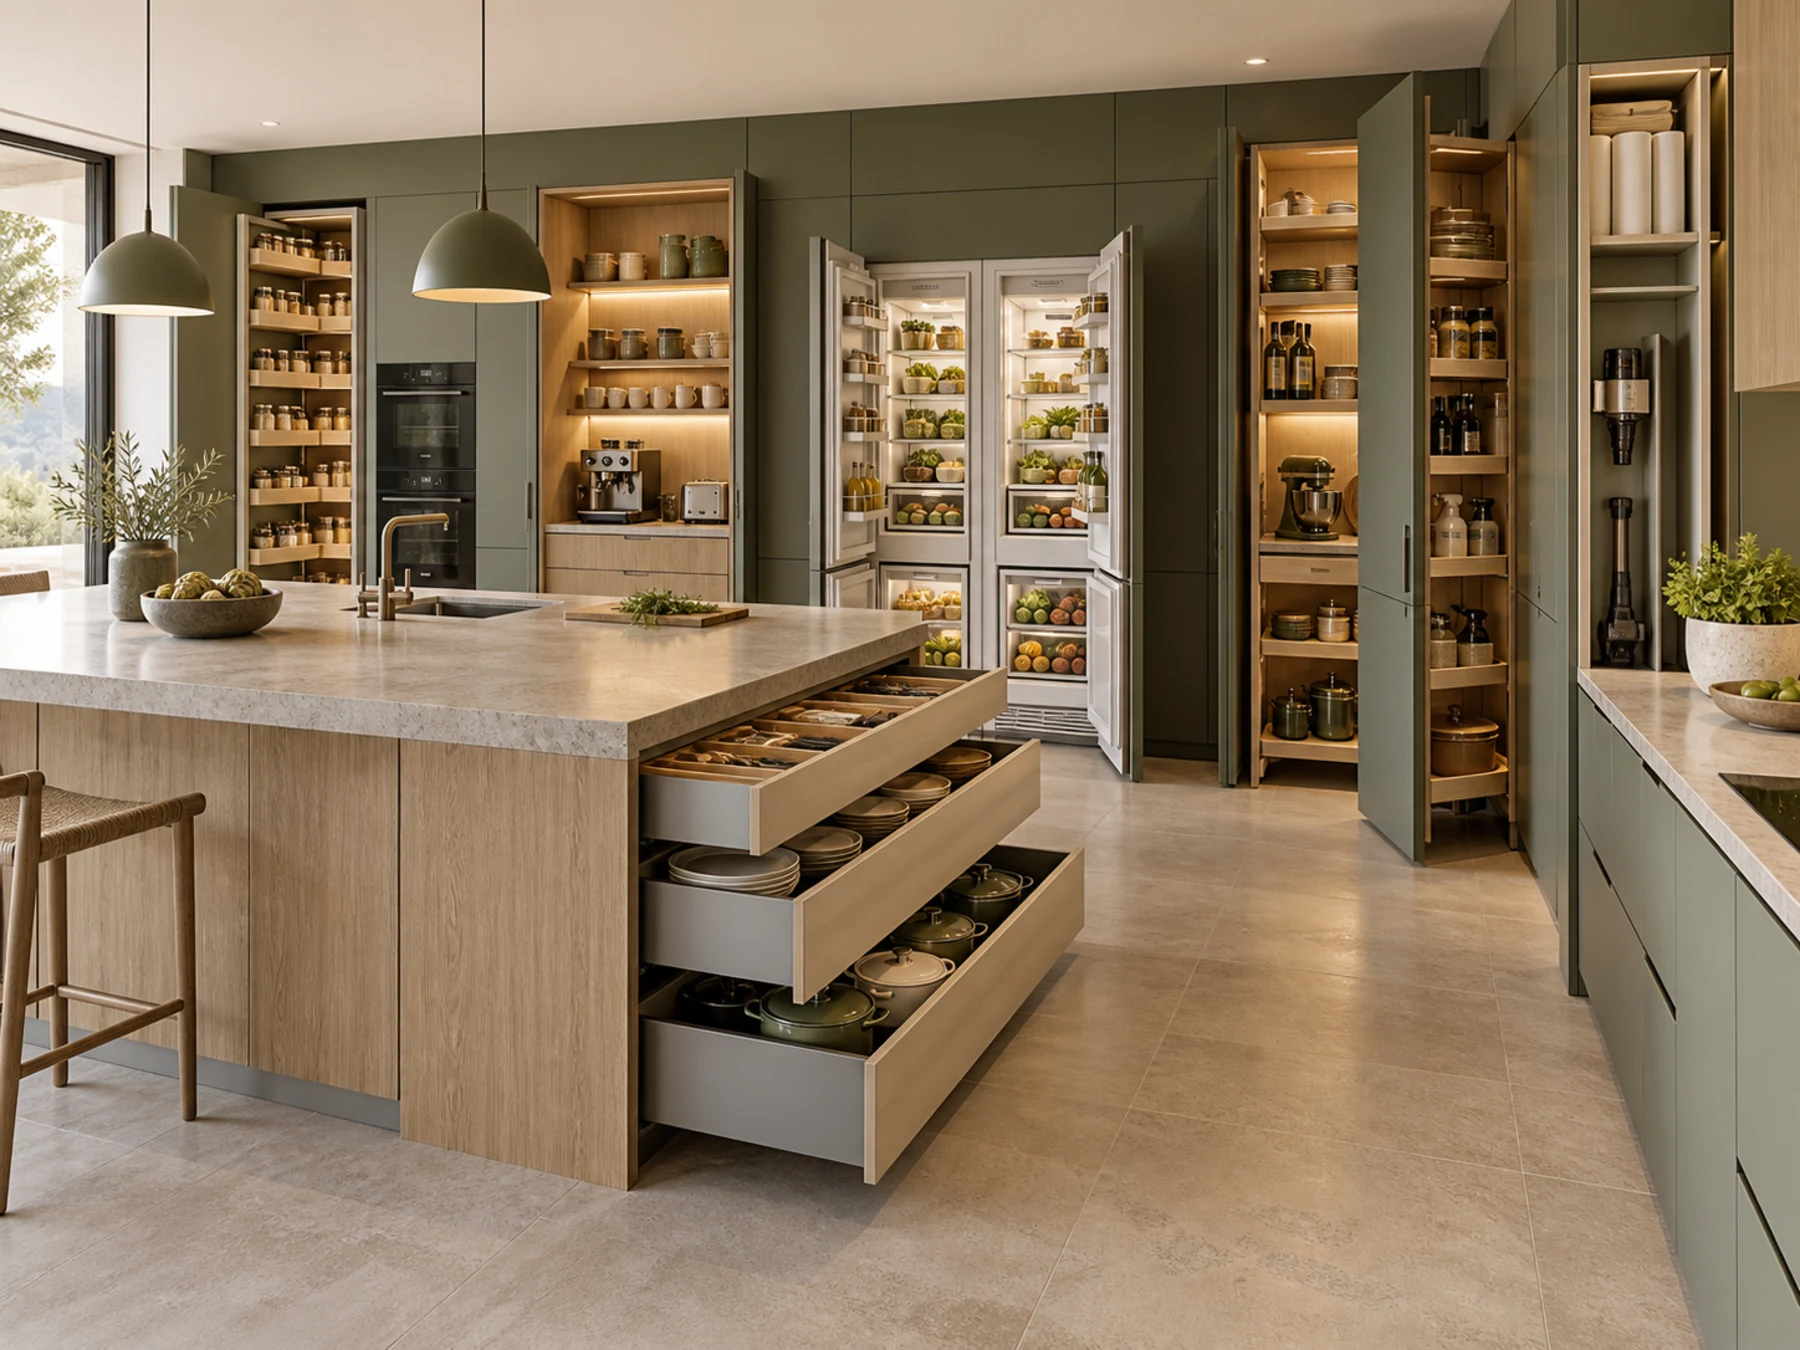
Custom kitchen requires simultaneous consideration of wash-cut-cook workflow, countertop height, equipment dimensions, electrical and plumbing, drawer baskets, lighting, and cleaning maintenance. Simply looking at cabinet door styles easily overlooks key conditions.
First put issues back into the whole-home process
Kitchen is the space with the densest equipment, pipes, and cabinets. Any delay in confirming dimensions of range hood duct, gas, water supply and drainage, water purifier, dishwasher, refrigerator, and small appliances may cause cabinet modifications or inconvenience in use.
The renovation process should first complete the whole-home customization plan, then proceed with positioning and briefing for plumbing, electrical, carpentry, tiling, and painting. At this point, cabinet positions and dimensions, light strips and power, switches and outlets, open shelves, drinking water equipment, kitchen appliances, door frames and trim conditions need to be clear. After cabinets enter factory production, non-conflicting on-site construction can still proceed in parallel. Therefore, front-loaded design doesn't slow down the schedule but reduces waiting, demolition, modification, and rework.
Evidence to verify before signing
- Collect accurate model dimensions for all built-in and countertop appliances
- Confirm positions of flue, gas meter, valves, floor drains, and access openings
- Determine countertop and wall cabinet heights based on the primary user's height
- Verify high-power appliance circuits, number of outlets, and waterproofing requirements
The key to verification is not that more information is better, but whether the information matches your unit layout, order, and local service team. The more specific the models, quantities, positions, responsibilities, and acceptance methods, the less likely you are to face unexpected additional charges or rework later due to different understandings.
How design connects with construction
- Establish a continuous workflow from sourcing, washing, prep, cooking, to plating
- Reserve space under the sink for water purifier, garbage disposer, and consumable replacement
- Place cookware, seasonings, dishes, and small appliances near their corresponding actions
- Determine LED strip power, sensor type, and color temperature in advance
It is recommended to create a project folder, saving measurement records, equipment specifications, confirmation drawings, material lists, quotes, change orders, and acceptance photos by date. Update dimensions, prices, timelines, and responsible parties with each change, and avoid replacing formal confirmation with a single chat message. This facilitates coordination across trades and provides a shared set of facts for resolving future disputes.
How to inspect on-site and upon completion
- During re-measurement, verify wall corner squareness and protrusion dimensions of flues and pipelines
- After installation, check countertop seams, backsplash, openings, and sink attachment
- Test whether drawers collide with refrigerators, dishwashers, and door frames
- Test all equipment with water and power connected and maintain clearance for maintenance
It is best to conduct acceptance room by room and component by component, first checking hidden structures and safety conditions, then appearance. Immediately mark the location of any issues found, take close-up and panoramic photos, and agree on remediation methods and re-inspection times. Do not make verbal commitments when issues remain unresolved.
allvs project recommendations
When designing a kitchen, try rehearsing a meal you commonly cook: where do ingredients come out of the refrigerator, where are they temporarily placed, where are they cut after washing, where are cookware and seasonings fetched from, and where are dishes finally placed. Whether the dishwasher opens with room to stand beside the sink, or whether the refrigerator drawer can fully extend when the door opens, affects the experience more than symmetry in renderings. When there are multiple devices under the sink, draw the pipeline routes, outlets, and consumable replacement paths in advance. The arrangement of outlets and water lines inside cabinets must be confirmed by professionals with reference to equipment specifications, not leaving maintenance needs until after cabinet installation.
allvs recommends completing cabinet detailed drawings before kitchen plumbing and electrical work begins. Confirming the equipment list, outlet diagram, and cabinet drawings simultaneously reduces rework and allows high-density storage to truly serve cooking.
Every household has different property conditions and living habits. This article provides a framework for communication and verification, not a substitute for professional judgment specific to the site. Moving key decisions forward, deepening drawings, clarifying materials, and documenting milestones are more reliable paths to a stable delivery experience.